Fish Tank Photography: 7 Tips for Taking Amazing Photos of The Fish in Your Aquarium
Update on: August 1, 2025
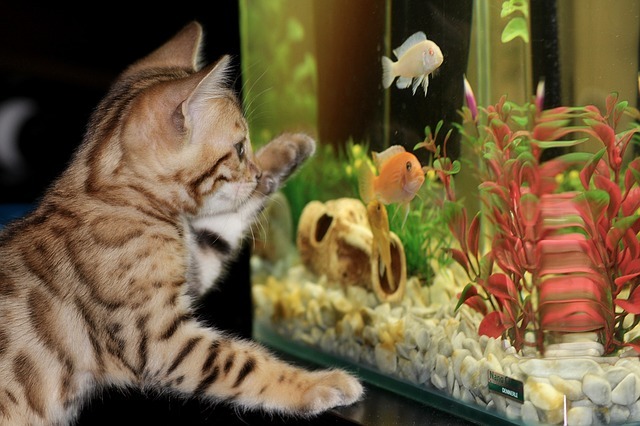
At one time or another, most of us have thought about photographing the fishes in our aquariums. Some of us just let the thought pass while others made the attempt, had horrible results, and vowed never to do it again.
Photographing fish in an aquarium can be challenging, but with the right tips and equipment, you can create stunning images that showcase the vibrant colors and unique personalities of your finned companions.
In this comprehensive guide, I’ll share expert tips to help you take your aquarium photography to the next level. The article won’t make an expert out of you, but it will help you achieve your first small measure of success in fish photography. Once you get to that point, you may find yourself motivated enough to try more advanced techniques.
Best Camera for Aquarium Fish Photography
Before we swim into the specifics, let’s understand the qualities that define a good camera for aquarium photography:
- Low-Light Performance: Aquariums are often dimly lit environments, designed to mimic the natural habitats of the fish. A camera with excellent low-light performance will make sure that your fish photos are bright and clear, without the graininess associated with high ISO settings.
- Fast Autofocus: Fish are not known for their patience in posing for photos. A camera with fast and accurate autofocus will capture sharp images of your swift-moving subjects before they dart out of frame.
- Macro Capability: Many fish and invertebrates are small, and capturing the intricate details of their scales, fins, and patterns requires a camera that can accomodate a macro lens
- High Resolution: To truly appreciate all the intricate details of your aquarium’s inhabitants, a high-resolution camera is a must. This allows for crisp, detailed images that can be cropped or enlarged without losing quality.
- Color Accuracy: The vibrant colors of aquatic life are a significant part of their allure. A camera that can accurately reproduce these colors is essential for true-to-life images.
Here’s a list of the best cameras for aquarium fish photography:
- Canon PowerShot G7 X Mark III: This compact camera is a powerhouse, boasting a 20.1-megapixel sensor, fast autofocus, and excellent low light performance. Its tilting touchscreen makes it easy to compose shots from unique angles, and it also shoots 4K video.
- Sony Alpha a6400: This mirrorless camera offers a 24.2-megapixel sensor, lightning-fast autofocus, and impressive low light performance. It also features a 180-degree tilting touchscreen, making it perfect for those tricky aquarium shots.
- Nikon D5600: This DSLR camera provides a 24.2-megapixel sensor, robust autofocus, and excellent low light performance. Its vari-angle touchscreen and impressive battery life make it a great choice for extended aquarium photography sessions.
- Canon EOS R5: If you’re are serious about capturing every minute detail of the fish, the Canon EOS R5 offers a whopping 45-megapixel full-frame sensor. Its autofocus system is incredibly fast and accurate, even in dim lighting conditions, making it perfect for tracking fast-moving aquarium fish.
- Olympus Tough TG-6: The Olympus Tough TG-6 is a waterproof camera with a 12-megapixel sensor, 4x optical zoom, and a 3-inch LCD screen. It has a fast shutter speed of 1/2000th of a second and an ISO range of 100-12800. It is also shockproof, crushproof, and freezeproof.
To capture high-quality images of your fish, you’ll need a camera with manual settings and a macro lens.
- A macro lens allows you to focus on the intricate details of your fish, even in tight spaces.
A camera with manual controls will serve you better. It should let you control the ISO, shutter speed, and apperture settings. Having control over these setting allows you to adjust to fit the environment of the aquarium.
The first thing you want to do is to evaluate what kind of photographic capabilities your camera has. Based upon how much or how little your camera can do, you can try one or more methods of capturing images of your finny friends.
Regardless of what kind of camera you own, simple or complex, you should be completely familiar with the way it works before you start. Work with the equipment you already have. You can develop some basic fish tank photography skills even with simple cameras.
The typical photo opportunity often presents itself in the form of an attractive community tank located in some room of your house or apartment. Let’s assume that this is the case for this article and build from there.
Tips for Successful Fish Tank Photography
Here are the 5 most important tips for fish tank photography:
- Use a tripod or monopod to stabilize your camera and reduce blur caused by camera shake.
- Experiment with different angles and perspectives to create unique and interesting compositions.
- Consider using external lighting sources, such as aquarium-safe LED lights or off-camera flashes, to improve illumination and bring out the vibrant colors of your subjects
- Practice patience and timing, as capturing the perfect moment with fish in motion can be challenging.
- Post-process your images using editing software to enhance colors, contrast, and clarity, bringing out the best in your aquarium photographs.
How to Take the Best Pictures of Fish in an Aquarium
1\. Understand Your Camera
The first thing you will have to know is how close your camera’s lens will allow you to get to your subject. Some lenses will allow you to get within inches of your fish and others will require you to stay several feet away.
If you can’t get close enough to take pictures of individual fish in the aquarium, then practice taking pictures of the whole fish tank. This should help reduce the number of fuzzy photos or slides you get. The focus on your camera’s lens may be fixed, manually set, or determined by a built in auto focus capability. Use auto-focus if you must, to start with, but over time learn to use manual settings if applicable to your camera.
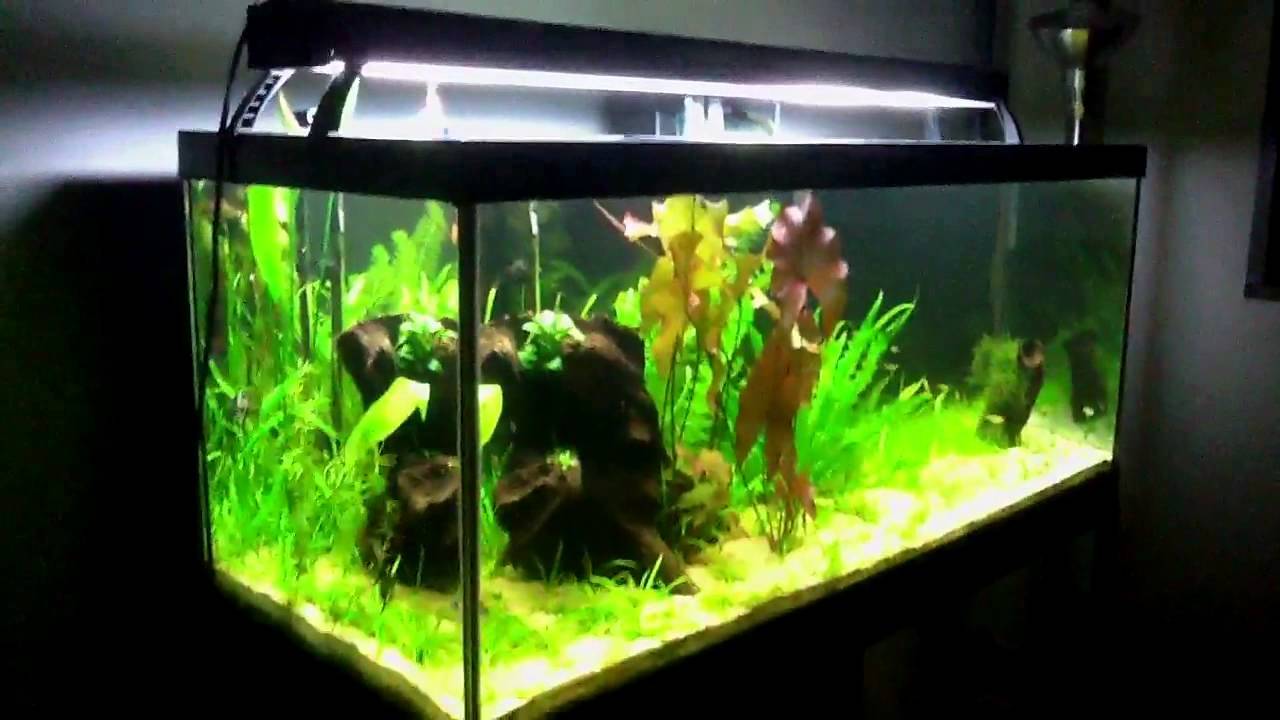
2\. Get Enough Lighting
Next, you will have to provide sufficient lighting in the fish tank so that your fishes will show up on film. There are a couple of ways to do this. You could change the ISO settings on your camera, which means it is very sensitive to light and will capture an acceptable image in very low light, or supplement the existing light on the tank so that it will be bright enough.
Often, the light meters in cameras will tell you that the light level is low and that you need to use flash. There are special flash techniques which are used to photograph fish and they are beyond the scope of this article.
Don’t put your flash unit on your camera or let your flash unit on your camera or let the built-in flash go off into the tank glass in front of the camera. The glare will bounce back into the lens and the shot will have been wasted.
Instead, in the very beginning, try supplementing the light from the top of the tank. Be careful here! Bulbs get very hot, hot enough to melt plastic tank moldings and tank hoods.
Additionally, the heat from the bulbs will heat the water in the tank if they are left on too long. Try using floodlights or spotlights to provide better control of where the light shines. You need to work all of this out before you take the first picture.
The more sophisticated your camera, the easier it will be to adjust its settings for the amount of lighting in your tank.
You will probably find that many of your fish will initially hide when subjected to the increased light level. Give them a little time to adjust before trying to photograph them.
Electronic flash is ultimately the way to go, but first master getting a reasonable amount of in-focus, adequately illuminated photos, before you add more variables to the photographic process. You will have to experiment a bit before you become successful. Be sure to take notes of how you did things so that you can avoid the same mistakes next time and so that you can replicate your successes in future photo sessions.
3\. Consider a photography tank
You may choose to set up a “photography tank” where it will be easier for you to work. No matter what tank you will be photographing, take time to thoroughly clean the glass, both inside and out.
Make sure the water itself is crystal clear. The camera will pick up the smallest speck of suspended material in the tank plus specks of dust on the glass in the field of view.
Setting up equipment and preparing the tank takes time. So does the actual photography. It sometimes takes many hours of waiting to get the spectacular photos you see in the magazines.
4\. Set the shutter speed
Simple cameras usually have a preset shutter speed. It will be fast enough to allow you to hand hold your camera and get sharp images on film, assuming there is enough light present. If you can adjust your shutter speed, make sure it is no slower than 1/30th of a second or you will risk blurry pictures. Your camera should be on a tripod or other steady support if you will be taking pictures at slower speeds.
5\. Set the Aperture
Lastly a few words about f stops. The lens in your camera has an iris in it which is either preset or adjustable. Depending on how it is set, it will allow more or less light to enter the camera when you press the shutter button.
The higher the f stop number you set your lens at, the more in front of and in back of your subject will be in focus.
For example: An f stop setting of f/1.4 will allow a great deal of light to enter the camera but will greatly limit what will be in focus in your pictures. An f stop setting of f/16 will reduce the light entering the camera but will show more objects in front of and in back of what you are actually taking a picture of in focus.
Give fish photography a try, you might be pleasantly surprised at the results.
\[su_divider top=“no” style=“double” divider_color=“#f57a21” link_color=“#f70b20” size=“5” margin=“25”\]
\[su_row class=“alsoon”\]
\[su_column size=“1/2”\]
\[su_list icon=“icon: location-arrow” icon_color=“#e76507”\]
- Best Acrylic Aquariums
- Best 75 Gallon Aquariums
- Best 55 Gallon Aquarium
- 20 Gallon Fish Tank
- 10 Gallon Fish Tank
- Disease Treatment
- Fish Photography
- Fish Nutrition
- Beginners Guide
- Best Freshwater Fish Tank
\[/su_list\]
\[/su_column\]
\[su_column size=“1/2”\]
\[su_list icon=“icon: location-arrow” icon_color=“#e76507”\]
- Best Saltwater Fish Tank Size
- Saltwater Aquarium Checklist
- Treating Itch
- How to Reduce Ammonia
- Saltwater Aquarium for Beginners
- Best Aquarium Kits
- Aquarium Filters
- About Aquarium Plants
- Understanding Aquarium Filtration
- Best Aquarium Filters Buying Guide
\[/su_list\]
\[/su_column\] \[/su_row\]