Aquarium Equipment List: A Guide for Beginners
Update on: August 1, 2025

This article provides a list of the equipment used to run and maintain an aquarium. We have also included a guide to the hard decor used to furnish our aquariums and listed information on some other items which may prove useful to the hobbyist.
So, you’re interested in starting your very own aquarium? Awesome! As a fellow fish fanatic, I’m excited for you to dive into this rewarding hobby.
But before we get into the nitty-gritty, let me share a little story.
A few years ago, I was in your shoes – a total fish tank newbie, totally clueless about any of the aquarium equipment. But after some trial and error (and a few casualties, unfortunately), I finally got the hang of it. Now, my living room is home to a thriving 55-gallon community tank, and I wouldn’t have it any other way.
Enough about me, though. Let’s talk about you and the equipment that you’ll need to get your aquarium up and running smoothly.
Aquarium Equipment List
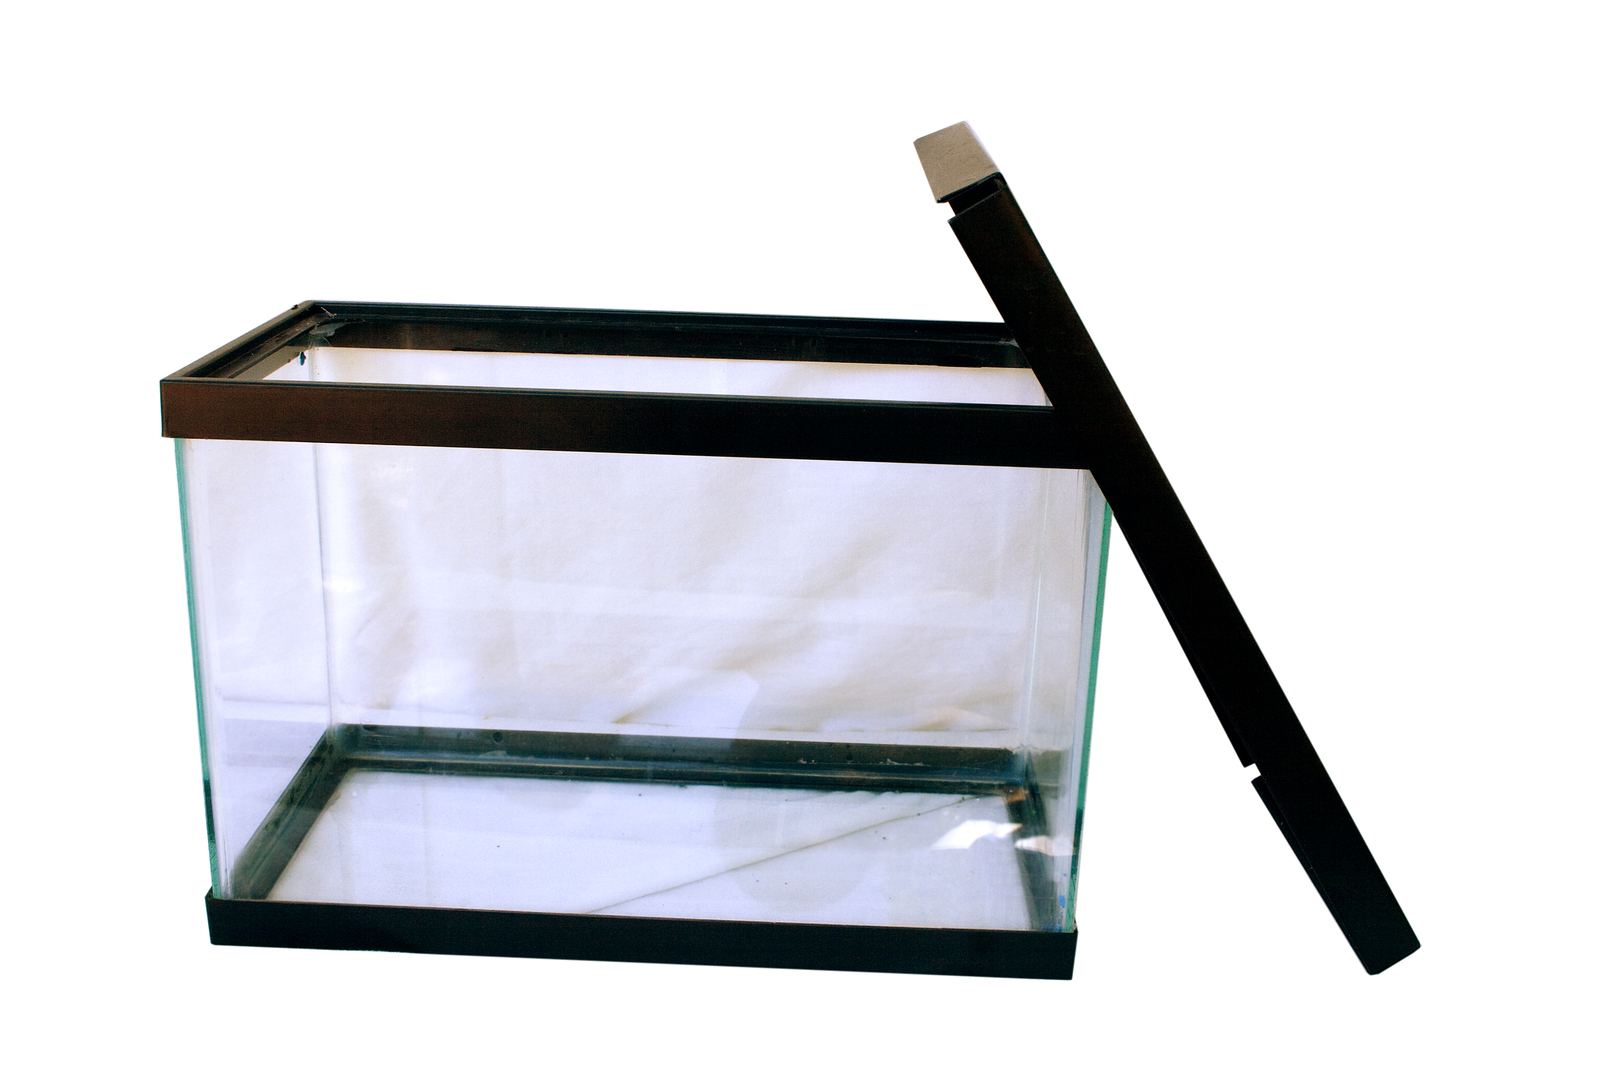
- Tank - Tanks come in many different sizes and shapes, and are most commonly made of glass. Aquariums also can be made of acrylic, fiberglass, plywood, and concrete.
- Filtration System - Filtration systems in saltwater aquariums usually consist of a pump, and a trickle filter with bioballs. A trickle filter is an acrylic water reservoir with a series of bioballs, and a fiberfloss filter. The water pump transfers water from the reservoir into the tank, and an overflow siphon brings new water from the tank and trickles it over the biospheres before it collects back in the reservoir.
- Heater - Many overlook the importance of an aquarium heater. Fish are very sensative to temperature fluctuation, and can suffer from stress, which can result in sickness, due to temperature changes. An aquarium heater basically regulates the temperature of the water in the aquarium to keep it within a degree or two of the temperature setting. Heaters generally come in two designs: the type which clips onto the back rim of the tank, and extends into the water, and the fully submersible unit.
- Light Source - Light sources for saltwater tanks vary greatly. Depending on the type of inhabitants in the tank, different Spectrums and intensities are required. Generally, the best light sources are custom built (they are cheaper), and consist of a series of different bulbs. If you are not sure exactly what spectrum is best, a full spectrum bulb, supplemented with an actinic blue bulb will usually provide sufficient spectrum and will create a nice effect int he tank for visual purposes.
- Hydrometer - Salinity in the saltwater aquarium is measured by Specific Gravity (S.G.). Specific gravity is basically a ratio of the density of a substance to the density of distilled water. A hydrometer reads the specific gravity of the saltwater. By using a hydrometer, one can accurately maintain the salinity of the aquarium, which is rather important in a saltwater system. The desirable range of specific gravity for a saltwater aquarium is 1.020 to 1.026 S.G., which is about 28 to 35 ppt.(parts per thousand)
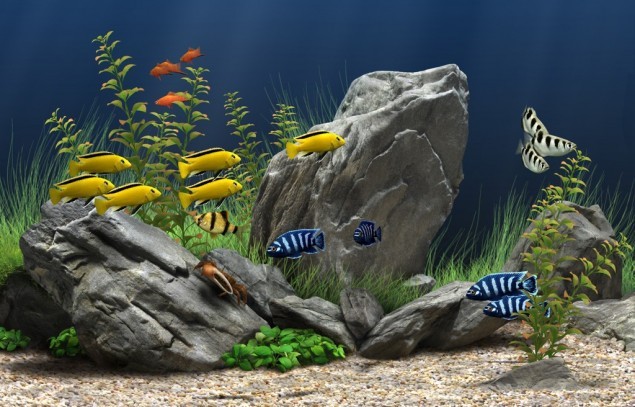
- Substrates - The substance which most saltwater aquarium owners choose to be the foundation for their aquarium is crushed coral. In addition, silica sand, dolomite, coral sand, shell hash, pea rock, river gravel, terrestrial rock, and live rock can be used.
- Gravel Vacuum - Gravel vacuums are very simple, yet useful devices. When doing a water change for the aquarium, gravel vacuums are used to remove both particulate residues and nitrates which accumulate in the bottom of the tank over time. At the same time, they remove water from the tank, allowing for a quick water change. Usually they consist of a thin vinyl tube, with a slightly larger diameter plastic attachment which you sweep over the bottom of the aquarium. The word “vacuum” comes from the fact that these devices function by using a siphoning effect.
- Test Kit - Unless the owner of the fish store you buy your aquarium from is extremely nice, you will have to pay for any water test of your aquarium. These are done to check the pH, ammonia, nitrite, and nitrate levels in your aquarium. For more information on what these compounds are, check the saltwater biological cycle page. This can be rather cheap, but occasionally, there will be times when one needs to check it periodically, and costs can add up quickly. Besides, it is much more convenient to be able to do your own water test, and you won’t have to go half way across town to find out that your tank is not ready for another fish yet. These kits vary from the extremely complex the rather simple. Ask the fish store owner which kit he or she recommends.
- Protein Skimmer - A protein skimmer is not a necessity for a saltwater aquarium, but if one has the money to invest in one, it will prove to be very useful. Protein skimmers range in price from around $100 to about $300. Organic material and other proteins accumulate in an aquarium over time from various sources, and eventually biologically decompose into nitrites and other toxic substances. Protein skimmers are used to remove the organics before they biologically decompose. They work using a very simple phenomenon. By using the hydrophilic and hydrophobic nature of organic materials, a protein skimmer removes organics from the saltwater by passing small bubbles through the water, causing the organics to congregate in a foam. This foam is then removed.
1\. The Tank Itself
This one’s a no-brainer, right? You can’t have an aquarium without an actual tank. When choosing your tank, consider a few factors:
- Size: How much space do you have? Bigger is usually better, but don’t go overboard if you’re tight on room.
- Material: Glass or acrylic? Glass is heavier but more scratch-resistant, while acrylic is lighter and more shatter-proof.
- Shape: Rectangle, hexagon, cylinder – the options are endless! Pick a shape that fits your space and aesthetic.
Pro Tip: Measure twice, buy once. Tanks are heavy, so you’ll want to get the dimensions right from the get-go.
2\. Filtration System
Think of your filter as the aquarium’s kidneys – it keeps the water clean and clear by removing waste and debris. There are a few main types:
- Hang-on-back (HOB) filters: Easy to install and maintain, perfect for beginners.
- Canister filters: More powerful but pricier, great for larger tanks.
- Sponge filters: Simple and affordable, but require more frequent cleaning.
You’ll also need filter media (like carbon and bio-balls) to help the filtration process along.
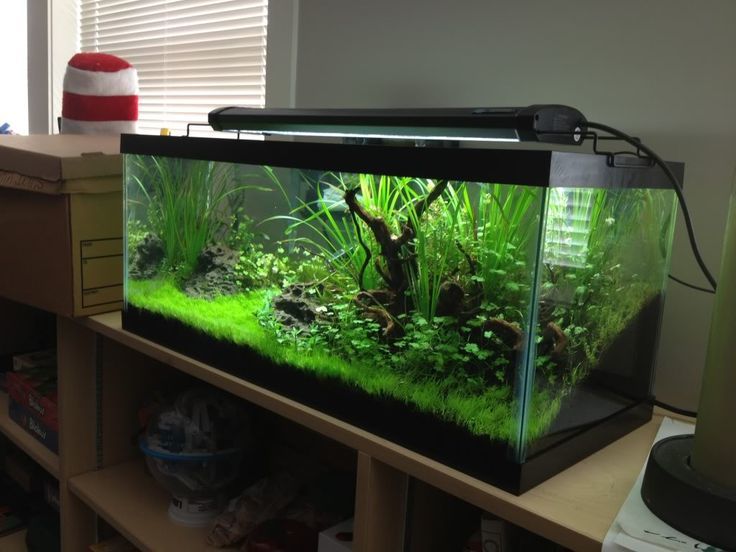
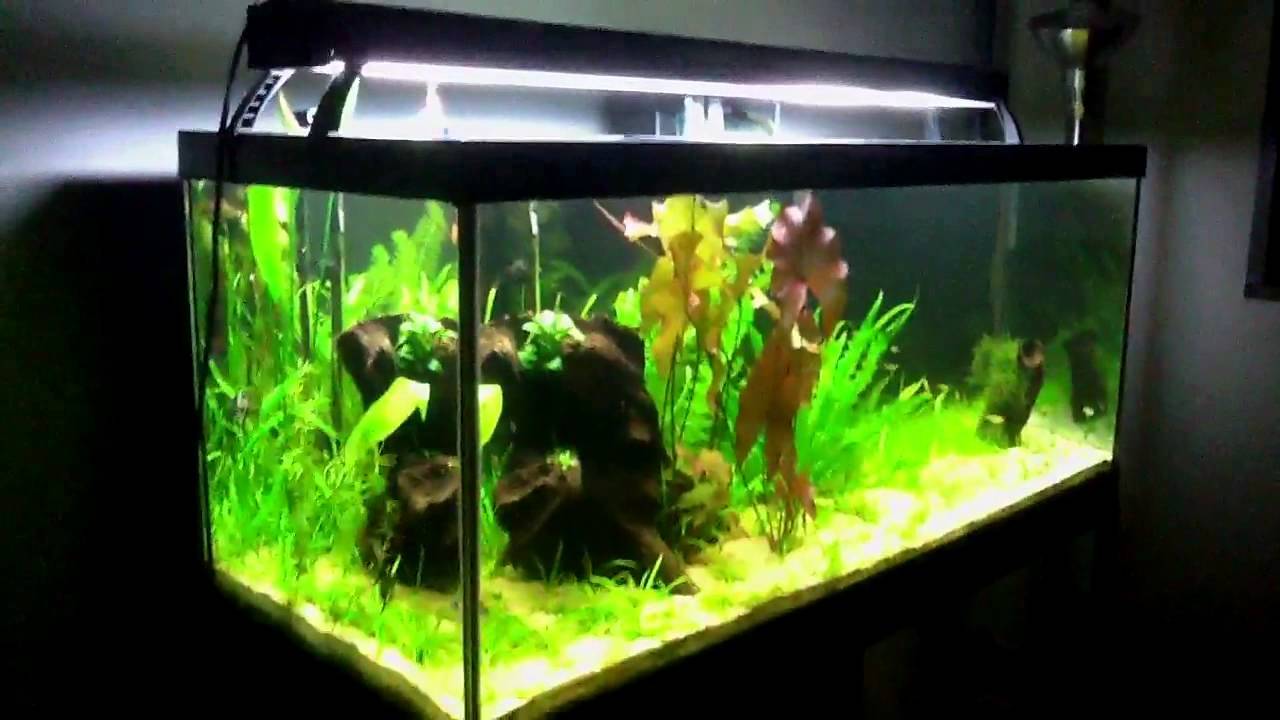
3\. Heating and Lighting
Most tropical fish thrive in warm water, so a heater is a must-have. Look for one that’s appropriately sized for your tank’s volume. As for lighting, it’s not just for aesthetics – it’s crucial for live plants and helps regulate your fish’s day/night cycle.
LED lights are energy-efficient and long-lasting, making them a popular choice.
4\. Decorations and Substrate
Now for the fun part – decorating! From live plants to driftwood, rocks, and ornaments, the possibilities are endless. Just make sure any decor you choose is aquarium-safe and won’t harm your fishy friends.
For the substrate (a.k.a. the gravel or sand at the bottom), you have a few options:
- Gravel: Classic and easy to clean, but can be tough on bottom-dwellers.
- Sand: Looks natural and is gentle on fish, but requires more maintenance.
- Planted substrate: Specially formulated to support live plants.
5\. Testing Kits and Accessories
To keep your aquarium in tip-top shape, you’ll need a few extra tools:
- Water testing kits: Monitor ammonia, nitrite, nitrate, and pH levels.
- Nets and siphons: For catching fish and changing water.
- Buckets and python: Makes water changes a breeze.
- **Air pump and air stones**: Helps oxygenate the water.
And there you have it – the essential aquarium gear list for starting your very own underwater paradise! Of course, this is just the beginning. As you gain more experience, you may want to add extras like protein skimmers, UV sterilizers, and automated feeders. But for now, focus on setting up your tank with these basics.
Do your research, take your time, and most importantly, have fun! If you ever have questions or need advice, your friendly neighborhood Petco associates (like yours truly) are always happy to help.
Aquarium Accessories
In addition to the essentials in the aquarium equipment list, there are a few accessories that can make your fishkeeping experience more enjoyable and convenient. These include:
- A high-quality aquarium net for catching and transferring fish
- A gravel vacuum for cleaning the substrate during water changes
- A dechlorinator to remove chlorine and other harmful chemicals from tap water
- A pair of aquarium scissors for trimming live plants
Remember, you’ll also need to research the specific requirements of the fish species you plan to keep, as different types of fish have varying needs in terms of tank size, water parameters, and compatibility with other species.
Caring for Your Aquarium Equipment
This is rather an easy process to do. First locate and remember where all your filter pads are. Next, shut off all your pumps. (Yes, your fish will be fine while you do this)
You do not have to shut off circulation pumps until you are ready to clean them.
Now remove all the filter pads or one at a time. It does not matter which way you want to do it. Using RO water begin to rinse and ring out the filter pads.
Remember to check the pads every once a month to make sure they are staying strong. If they appear to be limp or you just can’t get them to come clean replace them.
Keep an eye on your pads for muck build up and do a cleaning no less then a 2 to 3 months apart or as you notice that the water is having a hard time getting through the filter pad. Overflow pads can build up quickly as this is your first defense of ridding your tank of large objects. Once everything is back in place don’t forget to start your system up again.
Overflow pipes should be check about every 6 months to make sure that the algae build up is not to thick to cut off the water going through to your sump or back in to your tank. This is simple and easy and some people clean them, but I find that it is just as easy to replace them. This will however depend on your tank setup.
If you are one that would like to clean them, then a simple vinegar wash with a non-copper brush should do the trick. But again depending how long your hoses are will depend on whether this will work for you.
Pumps will become encrusted over time and to avoid a burn out you can clean these as well. Again this is going back to the vinegar cleaning. Most pumps will come apart so that the blades can be cleaned. (Refer to the user manual of your pump). Once open brush all parts with a vinegar solutions and rinse or use the pump in RO water to remove any extra vinegar.